Okapi-Pack
Centre For Interactive Systems Research
City University
London EC1V 0BH
|
Converting and Indexing A Sample Database.
|
1. Databases.
There are two types of database catered for by Okapi-Pack:
| Text: |
These will have a maximum of four fields. Lines in documents will
be delimited by characters.
An example database
formed from the Medlars collection, is provided with Okapi-Pack.
|
| Abstracting and Indexing (ai) |
These will have a maximum of 31 fields. Fields in source files are
delimited by
< linefeed > characters; there are not
normally characters within fields.
An example
database from the CACM collection (a little ancient, I'm afraid)
is provided with Okapi-Pack.
|
The sample databases ( med.sample and cacm.sample ) were
both downloaded from Cornell University (ftp to
ftp.cs.cornell.edu
and move into directory pub/smart). They are both provided in:
- converted / indexed form for immediate use.
- Okapi exchange format for use with the indexing software.
2. Location of Files.
All files provided with the package are stored in the directory, or
sub-directories of,
<OKAPI_ROOT>. Once you are familiar with the system
you may like/need to reorganise the files. However, at the present the
various types of database files and their locations is as follows.
- Database Parameter files.
These are stored in <OKAPI_ROOT>/databases ; each
database requires three files:
- <db_name>
- <db_name>.field_types;
- <db_name>.search_groups
where <db_name> is the name of the database that will be
recognised by Okapi. The contents of these three files are
described in
Appendix C.
NOTE: "indexer" reads the database parameter files (if
they exist) for a named database. Thus, before you attempt to the
application it is a good idea to edit the main parameter files
for the two sample databases provided:
- cacm.sample, and
- med.sample
so that the lines "bib_dir= ... " and "ix_stem= ... " contain the
correct values for each database.
- Okapi Exchange Format Files.
The unconverted datafile(s), in
Okapi exchange format are stored in
<OKAPI_ROOT>/datafiles.
- Converted database.
After the
database conversion process has been
completed the Okapi runtime database will be stored in
<OKAPI_ROOT>/bibfiles .
- Indexes.
After the
database conversion process has been
completed the Okapi runtime database will be stored in
<OKAPI_ROOT>/bibfiles .
Note: It is suggested that you copy the three files:
- < db_name >
- < db_name > .field_types;
- < db_name > .search_groups
for each database to files of your own naming for testing the indexing
software. Once you've copied the parameter files print them so that you
may refer to them during the indexing process. They will give you a good
idea of the information that you must provide and its function.
3. End of Field and Record Characters.
Each field in an Okapi exchange format file is terminated with an end of
field character (field_mark); each record by an end of record character
(record mark). In the sample exchange format files provided these are
0x1E and 0x1D respectively.
NOTE: the naming conventions must be the same, i.e. the main
parameter file will be the name of the database you will be creating -
<db_name> . The other two parameter files will be called
<db_name>.field_types andf
<db_name>.search_groups respectively.
4. Environment variables.
You must ensure that you have set up your environment variables as
described in Appendix B.
The file .indexing_rc in the directory
<GUI_CONFIG_FILES> is read by the application when it is
run. It sets up the values of certain required parameters. Unless you
wish to install your raw data, database parameter files and bibfiles in
places other than <OKAPI_ROOT> you do not need to edit
this file.
5. Running the indexing application -- "indexer".
Either move into <OKAPI_ROOT>/bin or add it to your
search path. Type:
indexer
at the Unix prompt. There are six data entry screens for the complete
definition of the database and index parameters. It is not necessary to
complete these all at once. The user may save the current parameter
files at any stage and quit the application. When the application is
re-run the parameter files corresponding to a given database can be
reloaded and the process continued.
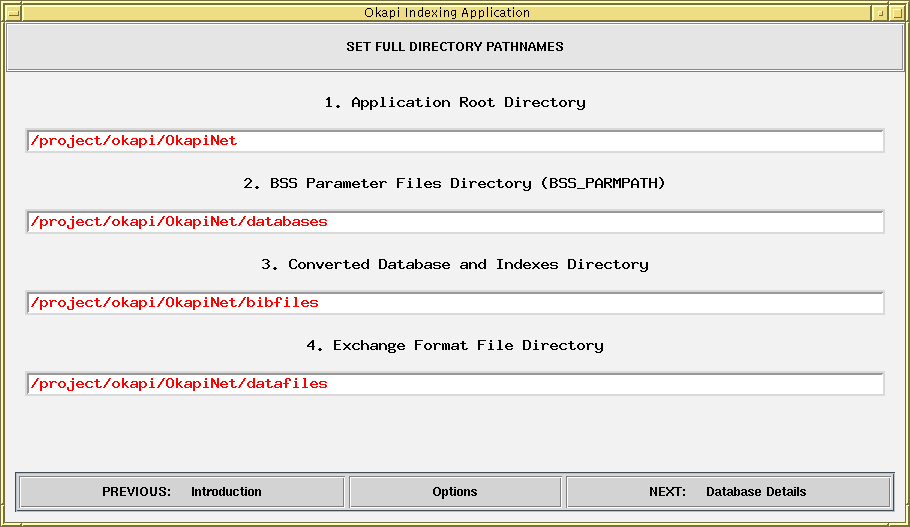
Note: It is essential to set the following four directory pathnames:
- Application Root
- BSS Parameter Files (BSS_PARMPATH)
- Converted Database and Indexes
- Exchange Format File
The stages to go through are:
- Data Entry Screen 1:
Setting the pathnames for the parameter files ,
bibfiles and exchange format files .
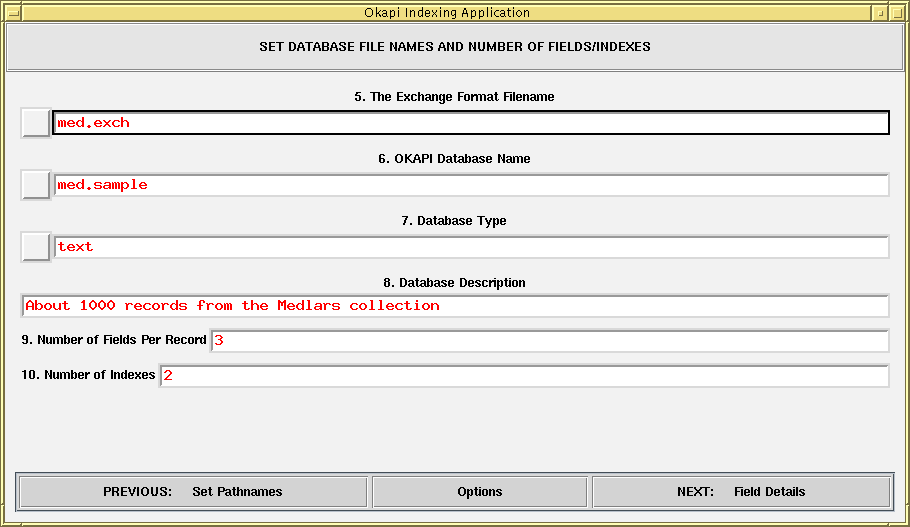
- Data Entry Screen 2:
| Setting the: |
database name |
| |
exchange format filename |
| |
database type |
| |
number of fields |
| |
number of indexes |
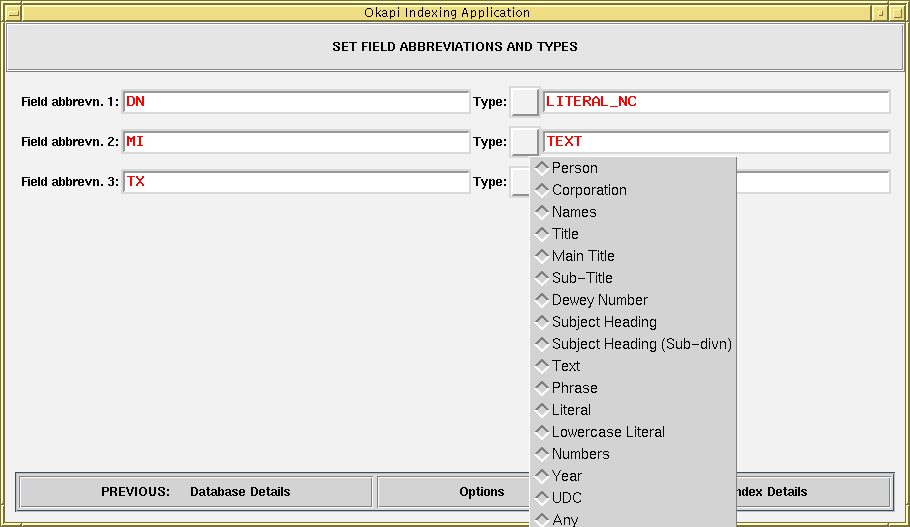
- Data Entry Screen 3:
Field type parameters. The Field abbreviations are any
user-defined strings. The field types should be chosen from the
menu of types obtained by clicking the "type" button for each
field.
- Entering the index parameters.
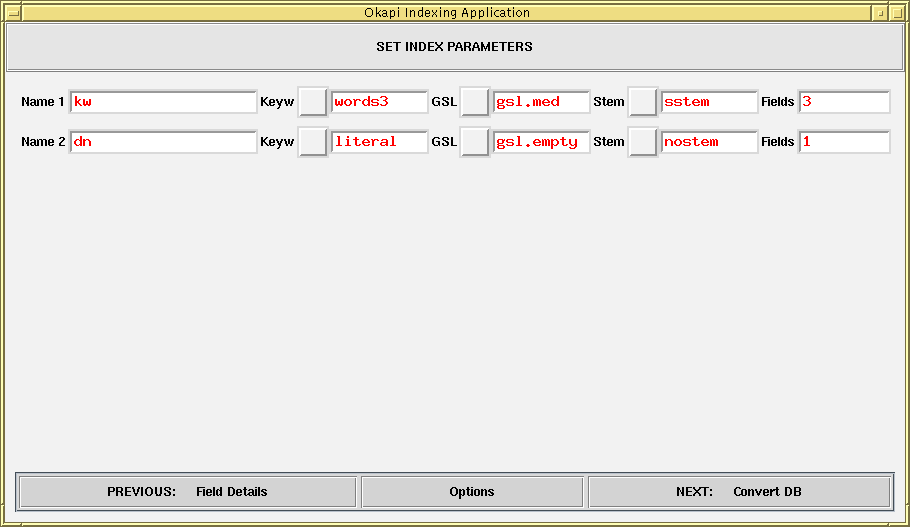
Note that, for a given index, the fields from which it is
generated should be entered as a space separated list. For
example, if an index is to be made from fields 3, 5 and 6 these
should be entered in the fields entry box as:
- Converting the exchange format file into an Okapi database.
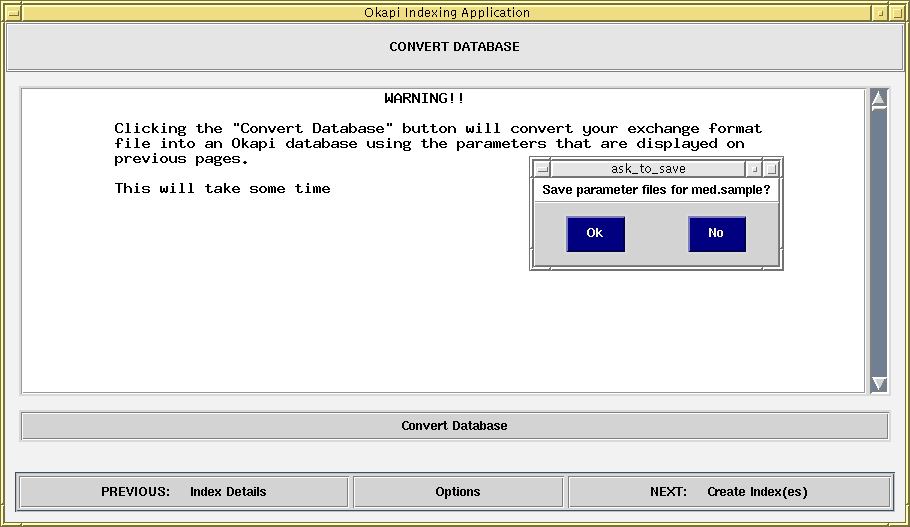
The structure of the Exchange Format File is detailed in
Appendix E.
- Creating the indexes.
< /a>
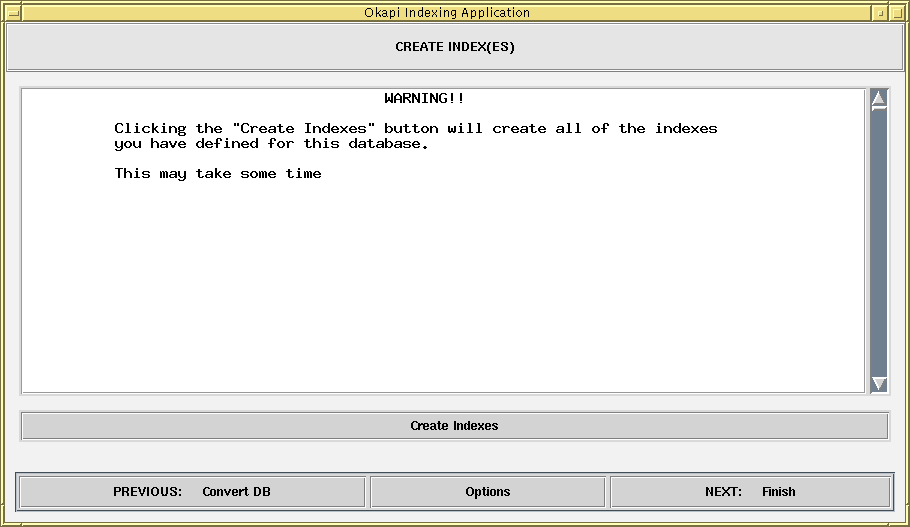
The process may be halted at any time and restarted in the future. The
current state of the parameter files can be saved before quitting so
that you may re-start wherever you left off.
Following these steps is fairly straightforward. Each screen has three
buttons at the bottom:
| Next |
Onto the next step in the process where appropriate. |
| Previous |
Back to the previous step, where appropriate. |
| Options |
Display a pop-up menu with the following entries:
| Set logging level > |
Full logs
Indexing commands |
| Read Current Parameter File(s) |
|
| Save Current Parameter File(s) |
|
| Load New Parameter File(s) |
|
| Exit |
|
"Full logs" records all tcl interface commands. "Indexing
commands" records only commands that are called by the indexing
process.
|
It is possible to move forwards and backwards through the process by
clicking on the appropriate <Next> and <Previous>
buttons. At any stage the current parameter files may be saved or new
ones loaded by choosing the appropriate menu entry after clicking the
<Options> button.
Once the directory paths have been set up correctly (the installation
root directory <OKAPI_ROOT>, the database parameters directory
<BSS_PARMPATH>, the bibfiles directory for the converted database
and indexes, and the directory where the exchange format file is kept),
the process is very straightforward. Most parameters are selected from
pop-up menus.
Running the indexer program gives some feel for the indexing process.
However, all in effect that the program does is allow the user to write
the database parameter files before calling the three programs that do
all the work. The three programs referred to, all stored in
<OKAPI_ROOT>/bin are:
- convert_runtime (see
Appendix E )
- ix1(see
Appendix F )
- ixf(see
Appendix F )
Appendix F discusses
the indexing process in more detail. In particular it illustrates how
the programs ix1 and ixf may be called in order to
create:
- databases and indexes which exist over several different volumes.
- positional information for paragraphs so that passage retrieval
might be implemented (text databases only).
Last modified: 12 November 2001


