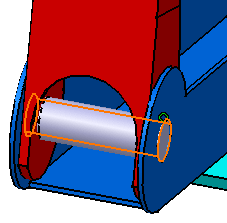
Designing a Part in an Assembly Context
| This task consists in designing the part you have just added to the assembly. It shows you how easy it is to access the tools required for designing components in an assembly context. | |||
| 1. | Double-click CRIC_JOIN in the specification tree to access the Part Design workbench. | ||
| 2. | Select the blue face as shown and click the Sketcher icon |
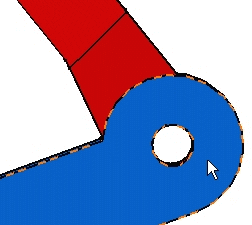 |
|
| 3. | Now that you are in the Sketcher,
click the Normal View Do not bother about positioning the circle. |
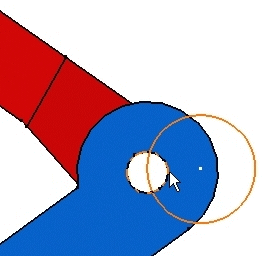 |
|
| 4. | Now to obtain the same radius value as the one
used for CRIC_JOIN circular edge and to make sure that this circular edge
and the circle share the same
axis, use the Constraints Defined in Dialog Box command |
||
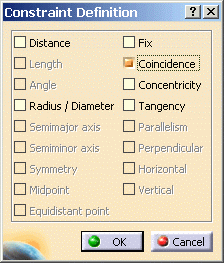 |
|||
| After validating the operation, the circle is coincident with the circular edge. You must obtain this: | 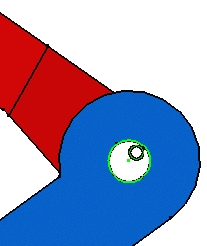 |
||
| 5. | Exit the
Sketcher and use the Pad command |
||
 |
|||
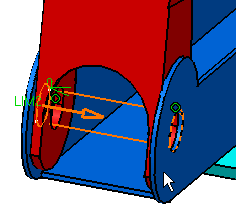
| After validating the operation, you should obtain this
cylinder: The part is designed. |
|||
|
|
|||
| For information about Part Design and designing in context, refer to CATIA- Part Design User's Guide Version 5 and Designing in Assembly Context respectively. | |||
