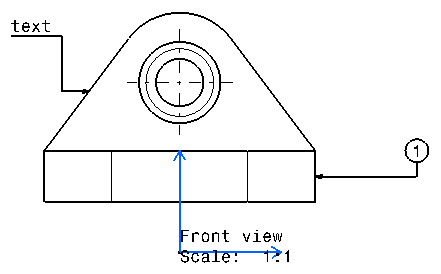
Handling Annotation Leaders
| This task shows you how to handle
annotation leaders, by performing such operations as adding or
removing a breakpoint, an extremity or an interruption. You will also
learn how to move and position leader
breakpoints.
|
||||||||
|
Depending on the type of annotation the leader is associated with, not all operations described in this section will be available. Handling Leaders |
||||||||
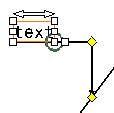
| Create a text with a leader.
|
||||||||
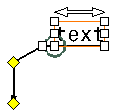
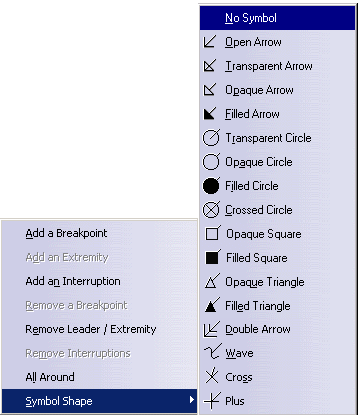
| 1. Right-click the yellow control point at the end of the leader. The leader's contextual menu is displayed. | ||||||||
|
|
||||||||
| 2. Choose from the available options. | ||||||||
|
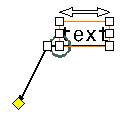
Then, to remove this breakpoint, right-click on the breakpoint and select
Remove a Breakpoint.
|
|||||||
|
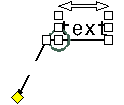
Then, to remove this extremity, right-click on the
additional extremity and select Remove Leader/Extremity.
|
|||||||
|
|
|
|||||||
|
Then, to remove this interruption, right-click on the leader yellow
control point and select Remove Interruptions.
|
|||||||
|
||||||||
|
||||||||

|

|
|||||||
|
||||||||
| You can remove the leader extremity symbol for all annotations.
|
||||||||
|
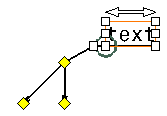
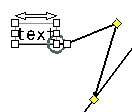
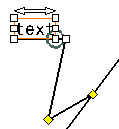
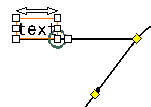
3. You can also move the leader or any
existing breakpoints by clicking a yellow control point and moving it
using the mouse.
|
||||||||
|
||||||||
|
|
|||||||
|
||||||||


Moving and Positioning Leader Breakpoints |
||||
| You can move and position leaders breakpoints easily, for all types of annotations.
Leader breakpoints are moved and positioned using snapping (the leader is
oriented perpendicular to the reference element).
|
||||
| Go to Tools -> Options-> Drafting -> Mechanical Design ->
Annotation
tab . Make sure the Activate snapping (Shift toggles) option is
selected. Then, click on the Configure button and select either
On orientation or Both.
Open the Move_Leaders.CATDrawing document. This document contains a text with leader and a balloon. Add a breakpoint to both annotations, as explained in the previous section.
|
||||
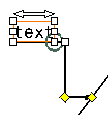
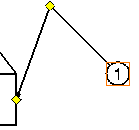
| 1. Move the text leader breakpoint with the mouse. You can position the leader breakpoint anywhere, and snapping is not used. | ||||
 |
 |
|||
2. Now, press the Shift key while moving the leader breakpoint with the mouse. The leader is snapped, and is positioned vertically or horizontally, or with the same orientation as the element to which it is attached. |
||||
 |
 |
 |
||
|
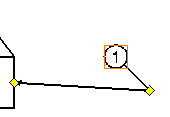
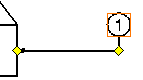
3. Release the Shift key and the mouse when you are satisfied with the position of the leader. 4. Move the balloon leader breakpoint with the mouse. You can position the leader breakpoint anywhere, and snapping is not used. |
||||
 |
 |
|||
|
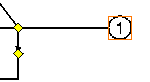
4. Now, press the Shift key while moving the leader breakpoint with the mouse. The leader is snapped, and is positioned vertically or horizontally, which happens to be the same orientation as the element to which the leader is attached. |
||||
 |
 |
|||
|
5. Release the Shift key and the mouse when you are satisfied with the position of the leader. Both leaders are now positioned properly. |
||||
 |
||||
|
||||
