Instantiating PowerCopies
| This task shows how to instantiate Power Copies once they have been created as described in Creating PowerCopies. There are two ways of doing this:
|
||||||||
| Open the PowerCopyDestination.CATPart document. | ||||||||
| Using the PowerCopy Instantiate From Document command | ||||||||
| 1. | Select the Insert -> Instantiate From Document... command. The Select PowerCopy dialog box is displayed allowing you to navigate to the document or catalog where the powercopy is stored. Navigate to C:\Program
Files\Dassault Systemes\B10doc\online\prtug\samples directory. |
|||||||
| 2. | Select the document containing the
Powercopy, i.e. PowerCopyResults.CATPart.
The Insert Object dialog box is displayed. Use the Reference list to
choose the correct PowerCopy when several have been defined in the
document. |
|||||||
|
|
||||||||
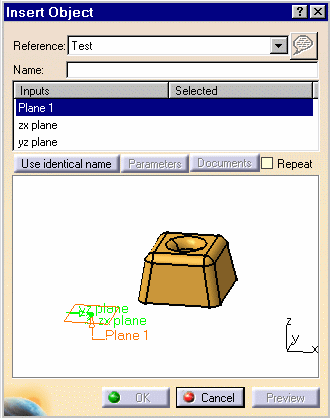
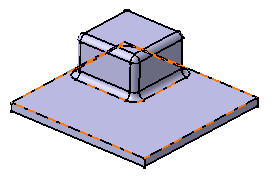
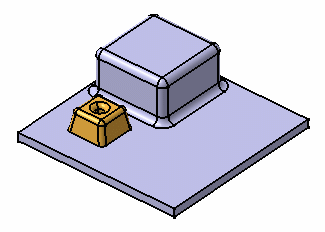
| 3. | Complete the Inputs within the dialog box by selecting the adequate element in the geometric area: select Pad1's upper face as the planar element replacing Plane1. | |||||||
|
|
||||||||
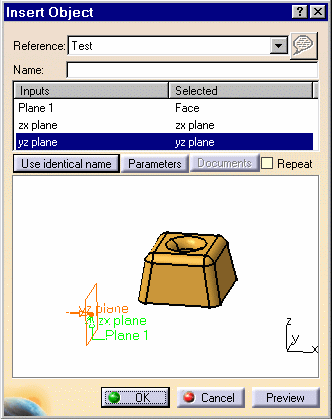
| 4. | Click on the Use identical
name button to automatically select all the elements with the same
name. Here, zx plane and yz plane are selected.
This is especially useful when the input is the same one repeated several time. |
|||||||
|
||||||||
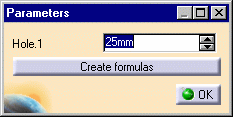
| 5. | Click on the Parameters button to display the Parameters dialog box. | |||||||
|
|
||||||||
| 6. | Enter 18mm as the new diameter value. | |||||||
| You can use the Create formulas button to automatically create a formula on every parameters with the same name provided there are any. | ||||||||
| 7. | Click OK to confirm the operation and close the dialog box. | |||||||
| The Documents
button lets you access the list of documents (such as design tables)
pointed by one of the elements making up the Power copy. If there are documents, the Documents dialog box opens and you can click the Replace button to display the File Selection dialog box and navigate to a new design table to replace the initial one. When no document is referenced, the Documents button is grayed within the Insert Object dialog box. |
||||||||
| 8. | Click OK to create the PowerCopy instance. | |||||||
| The PowerCopy is instantiated in context, meaning its limits are automatically re-defined taking into account the elements on which it is instantiated. | ||||||||
|
|
||||||||
| Once instantiated, powercopies are no more linked to the original PowerCopies used to define them. | ||||||||
| Using a catalog | ||||||||
You need to
have a catalog available, created either:
|
||||||||
| 1. | Click the If accessing a catalog for the first time, you need to navigate to the catalog location. This location is stored in the settings for faster access later on. |
|||||||
| 2.
3. |
Select the catalog containing the PowerCopy you wish to instantiate. Select the PowerCopy to be instantiated, then you can:
From then on, you instantiate the PowerCopy as described above starting on step 3. |
|||||||
|
|
||||||||