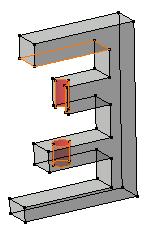
| Creating a pocket consists in extruding a profile
or a surface and removing the
material resulting from the extrusion. The application lets you choose the limits of creation as
well as the direction of extrusion. The limits you can use are the same as those available
for creating pads. To know how to use them, see Up to Next
Pads
, Up to Last Pads ,
Up to Plane
Pads, Up to Surface Pads.
This task first shows you how to create a pocket, that is a cavity, in an already existing part, then you will edit this pocket to remove the material surrounding the initial profile. |
|||||||||||
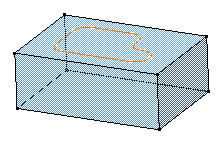
| Open the Pocket1.CATPart document. | |||||||||||
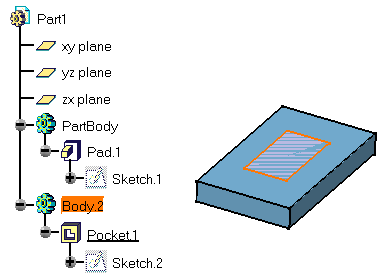
| 1. | Select the profile to extrude, that is Sketch.2. | ||||||||||
About Profiles
|
|||||||||||
|
|||||||||||
|
|||||||||||
|
|||||||||||
| Instead of selecting profiles, you can now select surfaces created in the Generative Shape Design workbench, non-planar faces and even CATIA V4 . To know how to create a pocket from a surface, refer to Pads or Pockets from Surfaces. | |||||||||||
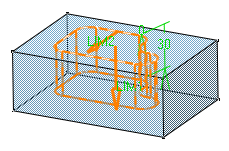
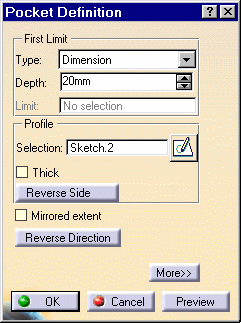
| 2. | Click the Pocket icon The Pocket Definition dialog box is displayed and the application previews a pocket. |
||||||||||
| If you launch the
Pocket command
with no profile previously defined, just click the icon |
|||||||||||
 |
 |
||||||||||
You can define a specific depth for your pocket or set one of
these options:
|
|||||||||||
| If you wish to use the Up to plane or Up to surface option, you can then define an offset between the limit plane (or surface) and the bottom of the pocket. For more information, refer to Up to Surface Pad. | |||||||||||
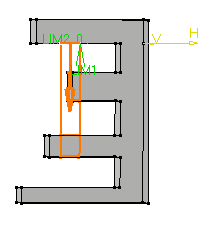
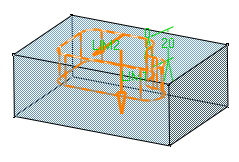
| 3. | To define a specific depth, set the Type parameter to Dimension, and enter 30mm. | ||||||||||
| Alternatively, select LIM1 manipulator and drag it downwards to 30. | |||||||||||
|
|
|||||||||||
| If you are not satisfied with the profile you selected, note that you can click the Selection field and select another sketch. | |||||||||||
| Clicking the
icon |
|||||||||||
|
By default, if you extrude a profile, the application extrudes normal to the plane used to create the profile. To specify another direction, click the More button to display the whole Pocket Definition dialog box, uncheck the Normal to sketch option and select a new creation direction. |
|||||||||||
| If you extrude a geometrical element created in Generative Shape Design, you need to select a direction. | |||||||||||
| To know how to use the "Thick" option, refer to "Thin Solids". | |||
| Optionally click Preview to see the result. | |||
| 4. |
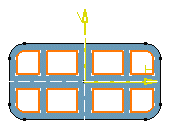
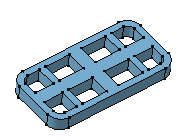
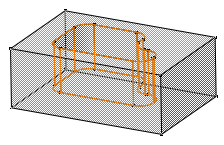
Click OK to create the pocket. The specification tree indicates this creation. This is your pocket:
|
 |
|
| 5. | Double-click
Pocket.1 to edit it. As the application now lets you choose the portion of
material to be kept, you are going to remove all the material
surrounding the initial profile.
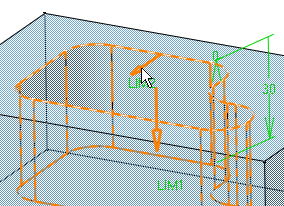
The option Reverse side lets you choose between removing the material defined within the profile, which is the application's default behavior, or the material surrounding the profile. |
||
| 6. | Click the Reverse side button or alternatively click the arrow as shown: | ||
|
|
|||
| 7. | The arrow now indicates the opposite direction. | ||
| 8. |
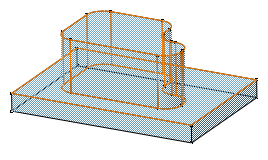
Click OK to confirm. The application has removed the material around the profile. |
||
|
|
|||
