Scanning a Part and Defining Local Objects
| In Part Design, you can access, view and operate all features or bodies locally. The Scan and Define in Work Object capability allows you to design part features without taking the complete part into account. | ||
| This task shows how to scan the part and define a local object. | ||
| Open the Active1.CATPart document. | ||
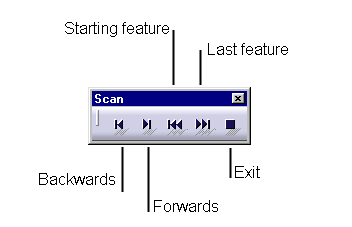
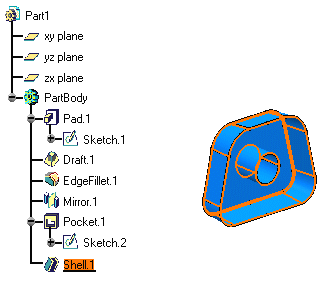
| 1. | Select the Edit -> Scan or Define in Work Object... command. The Scan toolbar appears enabling you to navigate through the structure of your part. You actually need to click the buttons allowing you to move from one local feature to the other. Sketches are not taken into account by the command. |
|
 |
||
 |
||
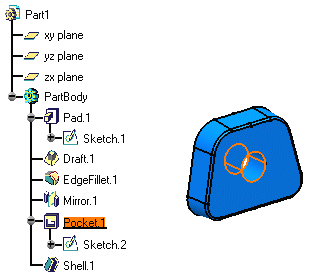
| 2. | Click the Backwards button to move to the previous feature, that is a pocket. The application highlights the feature in question in the specification tree as well as in the geometry area. |
|
|
|
||
| 3. |
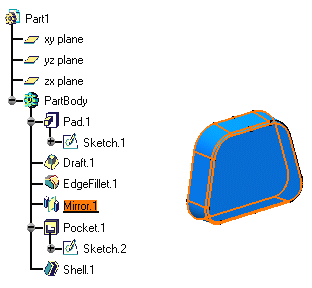
Click the Backwards arrow once more to move to the previous feature, that is a mirror. |
|
|
|
||
| 4. | Now that you have accessed the feature of your choice, that
is the mirror, isolate it from the current part by clicking the Exit button. In the geometry area, the application displays the local object only. In the specification tree, this local object is underlined. You are now ready to work on this feature. |
|
|
Defining a feature as local without scanning the whole part is possible using the Define in Work Object contextual command on the desired feature. | |
|
|
||

