 |
This task shows how to create a
lofted surface. You can generate a lofted surface by
sweeping one
or two planar section curves along a computed or user-defined spine. The surface can be
made to respect one or more guide curves. |
 |
Open the Loft1.CATPart document..
|
 |
-
Click the Loft icon  . .
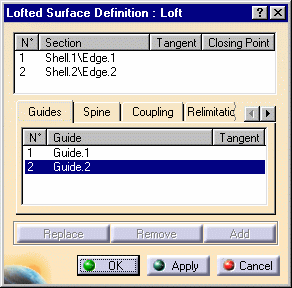
The Lofted Surface Definition dialog box
appears.
-
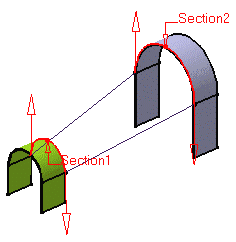
Select one or two planar section curves.
These
sections (two at maximum) may be tangent to support surfaces, provided they are not parallel.
Closed section curves can have point continuity at each closing point.
|
|
 |
 |
|
-
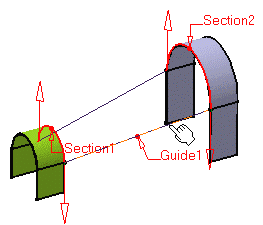
If needed, select one or more guide curves.
|
 |
|
-
In the Spine tab page, select
the Spine check box to use an automatically computed spine or select a curve to impose
that curve as the spine.
|
|
-
It is possible to edit the
loft reference elements by first selecting a curve in the dialog box list then choosing a
button to either:
 | Remove the selected curve |
 | Replace the selected curve by another curve. |
 | Add another curve. |
|
 |
|
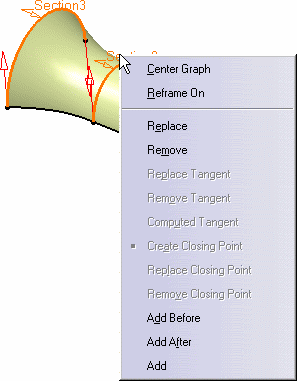
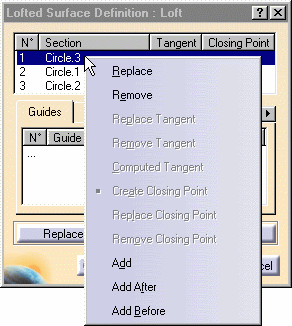
More possibilities are available with the contextual menu and by right-clicking on the
red text or on the object. For example, it is possible to remove and replace tangent
surfaces and closing points. |
 |
|
-
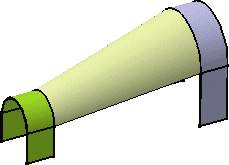
Click OK to create the lofted surface.
The surface (identified as Loft.xxx) is added to the specification tree.
|
 |

|
 | You can impose tangency
conditions onto sections and/or guides, by specifying a direction for the tangent vector (selecting a plane to take its
normal, for example). This is useful for creating parts that are symmetrical with respect
to a plane. Tangency conditions can be imposed on the two symmetrical halves.
Similarly, you can impose a tangency onto each
guide, by selection of a surface or a plane (the direction is
tangent to the plane's normal). In this case, the sections must also be tangent to the
surface. |
|
|
 | You can create lofted surfaces
between closed section curves. These curves have point continuity at their closing point.
This closing point is either a vertex or an extremum point
automatically detected and highlighted by the system.
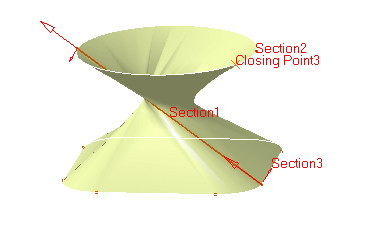
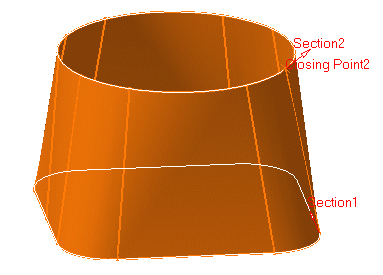
By default, the closing points of each section are linked to each other.The red arrows
in the figures below represent the closing points of the closed section curves. You can
change the closing point by selecting any point on the curve.
|
|
|
|
|
|
The surface is twisted |
A new closing point has been imposed
to get a non-twisted surface |
|
|
|
|
|
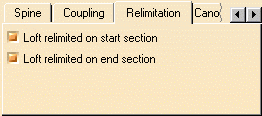
 | The Relimitation
tab lets you specify the loft relimitation type. .
You can choose to limit the
loft only on the Start section, only on the End section, on both, or
on none. |
|
 |
|
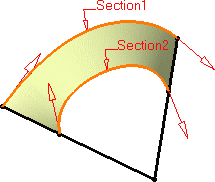
 | when one or both are checked: the loft is limited to corresponding
section |
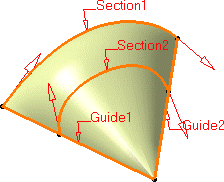
 | when one or both are when unchecked: the loft is swept along the
spine:
 | if the spine is a user spine, the loft is limited by the spine
extremities |
 | if the spine is an automatically computed spine, and no
guide is selected:
the loft is limited by the start and end sections |
 | if the spine is an automatically computed spine, and guides
are selected:
the loft is limited by the guides extremities. |
|
|
|
|
|
|
Loft relimitation option checked
on both Start and End section |
Loft relimitation option unchecked
on End section only |
|
|
|
|
 | Use the Planar surface
detection check button (Canonical Surfaces tab) to automatically
convert planar surfaces into planes. |
|

|
 |
This task presents
the two kinds of coupling during the creation of the lofted surface:
 | coupling between two consecutive sections |
 | coupling between guides |
These couplings compute the distribution of isoparameters on the
surface.
|
 |
Open the Loft2.CATPart document.
To perform the following scenario you will need to get some geometry
locate
|
|
Coupling between two consecutive sections
|
 |
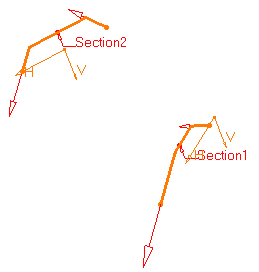
This coupling is based on the curvilinear abscissa.
-
Click the Loft icon  . .
The Lofted Surface Definition dialog box appears.
-
Select the two consecutive sections.
|
 |
|
-
Click OK to create the loft.
|
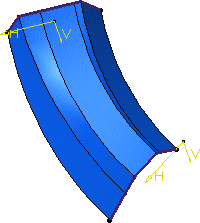 |
|
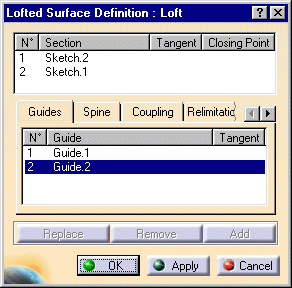
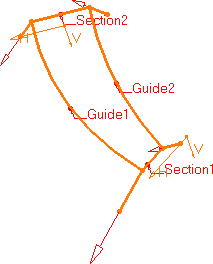
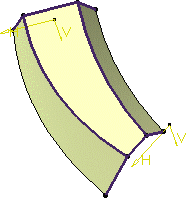
To create a coupling between
particular points, you can add guides or define the coupling
type. |
 |
|
|
 |
|
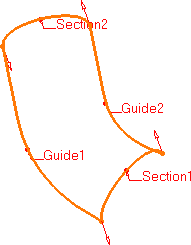
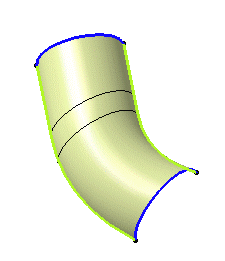
Coupling between guides
This coupling is performed by the spine.
If a guide is the concatenation of several
curves, the resulting loft will contain as many surfaces as curves within the guide.
|
|
|
 |
 |
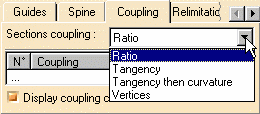
Several coupling types are available, depending on the
section configuration:
 | Ratio: the curves are coupled according to
the curvilinear abscissa ratio. |
|
 |
|
 |
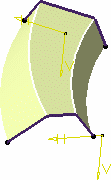
Tangency: the curves are coupled according
to their tangency discontinuity points. If they do not have the same
number of points, they cannot be coupled using this option. |
|
|
|
 |
Tangency then curvature: the curves are coupled according
to their tangency continuity first then curvature discontinuity points. If they do not have the same
number of points, they cannot be coupled using this option. |
 |
Vertices: the curves are coupled according
to their vertices. If they do not have the same
number of vertices, they cannot be coupled using this option. |
|
|

|


