Fixing a Component
Fixing a component means
preventing this component from moving from its parents during the update
operation. There are two ways of fixing a component:
This scenario first shows you how to fix a component in space, then how to fix it. |
|||||||
| Before fixing the
desired component, make sure it belongs to a component defined as active. Open the Fix.CATProduct document. |
|||||||
| 1. | Click the Fix
icon Fix in SpaceThis command is also available from the Insert menu. |
||||||
| By default, the Fix command fixes components in space. | |||||||
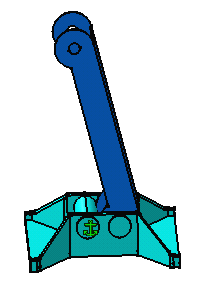
| 2. | Select the component to be fixed, that is the light blue component. | ||||||
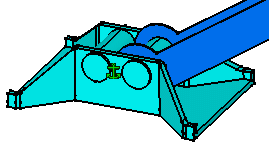
| The constraint is created. A green anchor is displayed in the geometry area to indicate that this constraint has been defined. | |||||||
|
|
|||||||
|
A lock symbol preceding the anchor is displayed in the specification tree too: |
|
||||||
|
Graphic symbols used for constraints can be customized. For more information, refer to Customizing Constraint Appearance. | ||||||
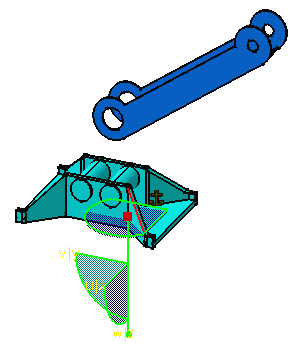
| 3. | Move the fixed component using the compass. | ||||||
|
|
|||||||
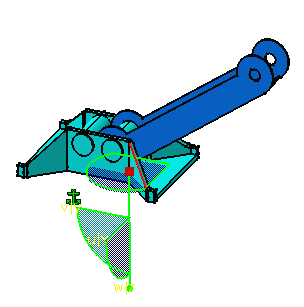
| 4. | Update the assembly to see which component is moved: the fixed component returns to its previous location: | ||||||
|
|
|||||||
Fix |
|||||||
| 5. | Double-click the fix constraint you have just created to edit it. | ||||||
| 6. | In the dialog box that appears, click More to expand the dialog box. | ||||||
| 7.
|
Uncheck the Fix in space option to the left of the dialog box. The lock symbol is no longer displayed in the specification tree, meaning that the component is positioned according to the other components only. | ||||||
| 8. | Move the fixed component using the compass. | ||||||
| 9. | Click OK to confirm. | ||||||
| 10. | Update the assembly: now the component remains at its location. Conversely, the dark blue component is moved to the fixed component. |  |
|||||


