Creating Stacked Dimensions
| This task will show you how to create
stacked
dimensions on a view.
Stacked dimensions are parallel lines with a common extension line.
|
|||||||
| Open the Brackets_views03.CATDrawing
document.
Go to Tools->Options->Mechanical
Design->Drafting->Dimension->Line-Up
and uncheck Align stacked dimension values. |
|||||||
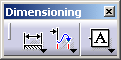
| 1. Click the
Stacked Dimensions icon
|
|||||||
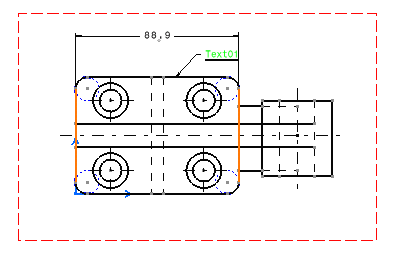
| 2. Click
a first point on the view.
3. Click a second point on the view. You just created a first dimension within the stacked dimension system.
|
|||||||
| 4. Click
a third point on the view.
You now created a second stacked dimension in
the system.
|
|||||||
| 5. Click
a fourth point on the view.
You now created a third stacked dimension in
the system. Note that this stacked dimension inserted You can create as many stacked dimensions as
desired.
|
|||||||
| 6. Click in the free space to end the stacked dimension creation. | |||||||
|
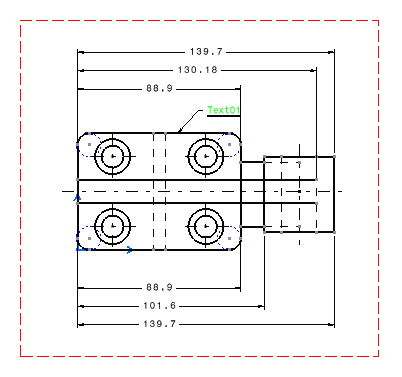
7. Go to Tools->Options->Drafting->Dimensions->Line-up and check Align stacked dimension values,
create the previous dimensions again but position them below the drawing:
This time, dimensions are aligned.
|
|||||||
|
|||||||
|
|||||||