Creating a Geometry Weld
| This task will show you how to create a geometry weld. | |
| Open the Brackets_views03.CATDrawing document. | |
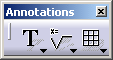
| 1. Click the Weld icon |
|
|
|
|
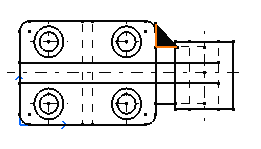
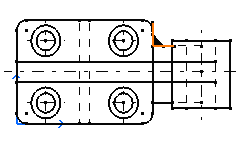
| 2. Select a first element. For example, a line. 3. Select a second element. For example, another line. The geometry default weld symbol automatically appears on the drawing.
|
|
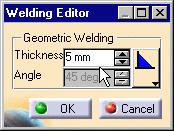
| The Welding Editor dialog box is displayed. 4. If needed, modify the geometry welding symbol. For example, modify the thickness from ten to five millimeters.
|
|
| 5. If needed, modify the type of the geometry welding symbol by selecting
the Change Type option
6. Click OK. |
|
| The geometry welding symbol is created.
|
|
| Care that a geometry weld correspond to an area fill that as such cannot be modified. | |
|
|