Visualizing Displacements
| Translational Displacement vector images are used to visualize displacement field
patterns, which represent a vector field quantity equal to the
variation of position vectors of material particles of the system as a
result of environmental action (loading). Translational Displacement vector Image objects can belong to Static Case Solution objects sets or to
Frequency Case Solution objects sets.
The displacement resulting from part loading is important for a correct understanding of the way in which the part behaves.
|
|||||||||||||||
| This task shows how to generate Disp
images on parts.
|
|||||||||||||||
You can use the sample23.CATAnalysis document. Before You Begin:
|
|||||||||||||||
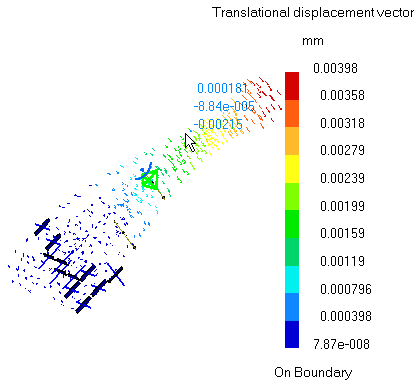
| 1. Click the Displacement icon The Translational Displacement vector image is displayed and a Translational displacement vector Image object appears in the specification tree under the active Static Case Solution objects set.
The Translational displacement vector distribution on the part is visualized in arrow symbol mode, along with a color palette.
2. When the mouse cursor is passing over vector arrow symbols, their components with respect to the global reference frame are visualized.
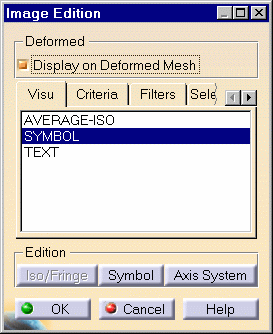
4. Double-click the Translational
displacement vector Image object in the
specification tree to edit the image.
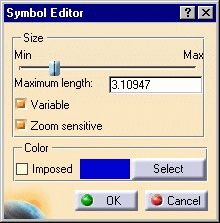
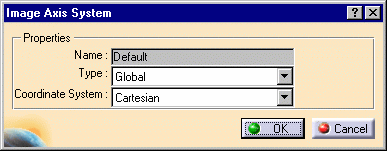
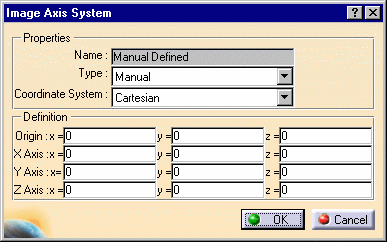
The following tabs are available:
The following Edition switch buttons are available:
5. Click OK to quit the dialog box. You can use the right mouse click (key 3) on a Translational displacement vector feature in the specification tree and select the option called Activate / Deactivate to turn the corresponding image on or off.
|
|||||||||||||||
| Products Available in
Analysis Workbench
The ELFINI Structural Analysis product offers the following additional features with a right mouse click (key 3) on a Translational displacement vector feature in the specification tree: Report: this icon generates a report in .html and .txt formats.
|
|||||||||||||||
|
|||||||||||||||


 Selections tab: either all or, in the
case of CATProducts, pre-defined groups of elements belonging to given
mesh parts can be multi-selected. In other words, given elements
associated to a mesh part are automatically grouped and you can multi-select
these groups (only available if you installed the ELFINI Structural Analysis
product).
Selections tab: either all or, in the
case of CATProducts, pre-defined groups of elements belonging to given
mesh parts can be multi-selected. In other words, given elements
associated to a mesh part are automatically grouped and you can multi-select
these groups (only available if you installed the ELFINI Structural Analysis
product).