Inserting Images (Raster or Vector)
| This functionality allows you to insert
images on every operating system. It is useful for V4 Drawings translation.
In this task, we will see how to insert raster (*.bmp, *.jpg, *.tif, etc.) or vector images (*.cgm. *.gl, *.gl2) as native V5 Drafting elements.
|
|||||||
|
|||||||
1. Select the Insert ->
Picture
command.
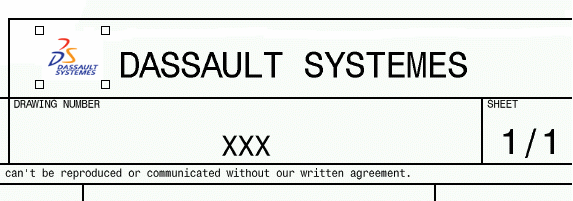
 A dialog box appears, allowing you to browse your disk. 2. Select the file "logo.gif" you have previously imported. The image is imported in your drawing. 3. Click on the image to select it. Scaling manipulators appear. Drag one of the manipulators to decrease the picture size.
You get this:
|
|||||||
| The
image is a native V5 Drafting element, it is positioned by default at
the origin of the view. The anchor point of the picture corresponds to its lower left-hand corner. |
|||||||
|
|||||||
4. Drag the
image to
the required position. |
|||||||
|


