Creating a Rectangle
| This task shows you how to define geometry in the newly created empty view which is by default, the front view. In this particular case, let's create a rectangle. | ||
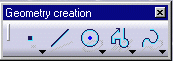
| 1. Click the Rectangle icon |
 |
|
 |
||
| The
Tools toolbar displays two value fields: horizontal value (H) and vertical value (V).
The Tools toolbar displays not only command options but also
given fields and values that appear in accordance with the command you
select. This toolbar is situated at the bottom right of screen. 2. Enter the First Point coordinates. For example, H: 0in and V: 0in. 3. Press Enter. |
||
 |
||
| At this step, you can either enter the rectangle second
point or width and height values.
4. Enter the Second Point coordinates. For example, H: 3.5in and V: 2.5in. 5. Press Enter to end the rectangle creation.
|
||
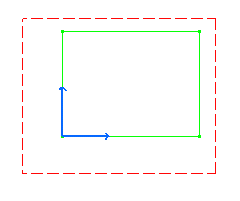
|
The rectangle appears in the empty view. |
 |
|
| You can also move the cursor for directly positioning the second point. The
corresponding values similarly appear on the Tools toolbar.
Note that the grid is not necessarily displayed throughout this documentation. Still, in the Generative Drafting workbench, the grid is set by default. If you need to display the grid, go to Tools->Options (Drafting/General) and check the Display option. |
||
|
||
