Creating Shell Properties

A shell property is a physical property assigned to a surface part. A Shell property references a material assigned to the surface Part and describes a thickness associated to this surface Part. A Shell property is associative to the geometry this property points at. You can also associate a local thickness to a piece of the geometry.

To know more about this property, see Shell Property in the Finite Element Reference Guide.


This task shows you how to:
add shell physical properties to a modified product
create local shell properties (on the condition a shell property was previously added to the part)


Open the sample51.CATAnalysis document.
In this particular case, a mesh part has been previously created.


Add Shell Physical Properties

You can add shell physical properties to a modified product.

1. Click the Shell Property icon .

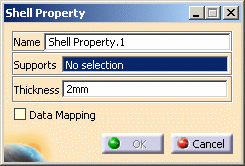
The Shell Property dialog box appears.

Name: you can modify the name of the property
Supports: you can select a support
Thickness: you can change the value of the thickness
Data Mapping
You can re-use data  (Data Mapping) that are external from this version (experimental data or data coming from in-house codes or procedures). For more details, see Creating Pressures (only available if you installed the ELFINI Structural Analysis product). 

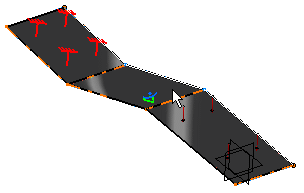
2. Select the support to be applied a Shell property.

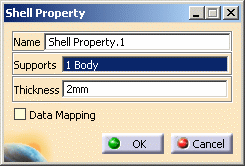
The Shell Property dialog box is updated as shown here:

If necessary, change the value in the Thickness field. 

3. Click OK in the Shell Property dialog box.
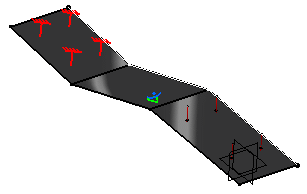
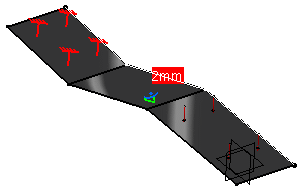
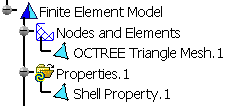
The Shell Property is created and a symbol appears on the geometry. A Shell Prorperty.1 feature appears in the specification tree.


Create Local Shell Property

You can associate a local thickness to a piece of the geometry.

1. Right-click the Shell Property.1 feature previously created in the specification tree and select the Create Local Shell Property option from the contextual menu.

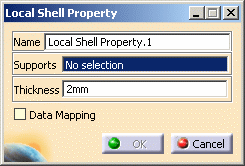
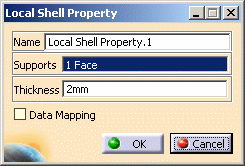
The Local Shell Property dialog box appears.

Name: you can modify the name of the property
Supports: you can select a support
Thickness: you can change the value of the thickness
Data Mapping
You can re-use data  (Data Mapping) that are external from this version (experimental data or data coming from in-house codes or procedures). For more details, see Creating Pressures (only available if you installed the ELFINI Structural Analysis product). 

2. Select the part of the geometry on which you want to apply a local shell property.

The Local Shell Property dialog box is updated as shown here:

3. Enter 1mm in the Thickness field.

4. Click OK in the Local Shell Property dialog box.
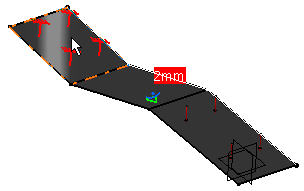
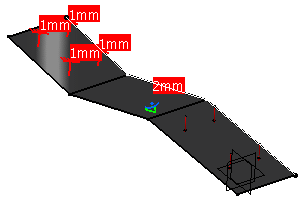
The Local Shell Property is created and symbols appear on the geometry. 

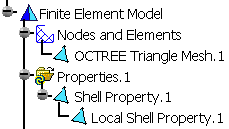
A Local Shell Prorperty.1 feature appears in the specification tree.


ainfo.gif (980 bytes)

  Products Available in Analysis Workbench

The ELFINI Structural Analysis product offers the following additional feature with a right mouse click (key 3):

on a Loads objects set:
Generate Image: generates an image of the computed Mesh Property objects. The image can be edited to include part or all of the options available.

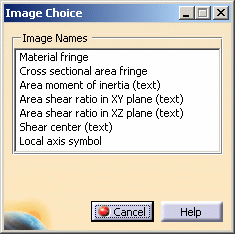
Right-click on a Properties objects set and select the Generate Image option. The Image Choice dialog box is displayed. You can select images by clicking them in the list.

You will find below an example of all the options that can be available in the Image choice dialog box, depending on the interactions previously performed

The resulting images sequence is obtained by superposition.

Report: the partial status and results of intermediate . pre-processor computations are reported in HTML format. It represents a subset of the global Report capability and generates a partial report of the Mesh Property objects set Computation. 

Click the Basic Analysis Report icon on the bottom toolbar. The .html partial report file is displayed.


Note that you can manually edit or delete a Shell Property and a Local Shell Property.


Back Up Next