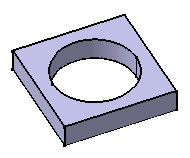
Pad
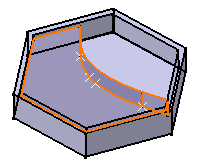
| Creating a pad means extruding a profile
or a surface in one or two
directions. The application lets you choose the limits of creation as well as the direction of
extrusion. This task shows you how to create a
basic pad using a closed profile, the Dimension and |
||||||||||
| Open the Pad1.CATPart document. | ||||||||||
| 1. | Select Sketch.1 as the profile to be extruded. | |||||||||
About Profiles
|
||||||||||
|
||||||||||
|
||||||||||
|
||||||||||
| You can now select surfaces, non-planar faces and even CATIA V4 surfaces. For more information, pleaser refer to "Pads from Surfaces". | ||||||||||
|
|
|||||||||
|
||||||||||
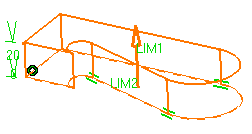
| 2. | Click the Pad icon The Pad Definition dialog box appears and the application previews the pad to be created. |
|||||||||
 |
||||||||||
|
If you are not satisfied with the profile you selected, note that you can click the Selection field and select another sketch. |
||||||||||
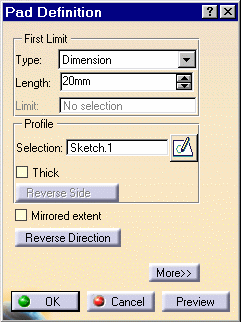
You will notice that by default, the application
specifies
the length of your pad. But you can use the following options too:
|
||||||||||
 |
||||||||||
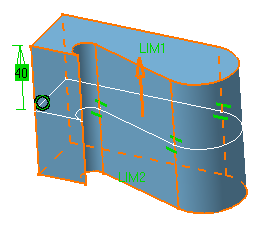
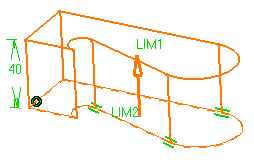
| 3. | Enter 40 in the Length field to increase the length value. | |||||||||
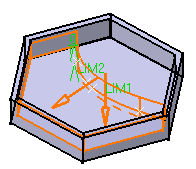
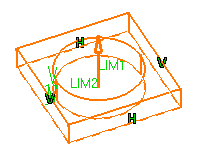
| You can increase or decrease length values by dragging LIM1 or LIM2 manipulators. | ||||||||||
| The length value cannot exceed 1 000 000 mm. | ||||||||||
 |
||||||||||
|
Clicking the
icon |
||||||||||
| To know how to use the "Thick" option, refer to "Thin Solids". | ||||||||||
| The button Reverse side applies for open profiles only. This option lets you choose which side of the profile is to be extruded. | ||||||||||
| 4. | Click the Mirrored extent option to extrude the profile in the opposite direction using the same length value. If you wish to define another length for this direction, you do not have to click the Mirrored extent button. Just click the More button and define the second limit. |
|||||||||
| 5. | Click Preview to see the result. | |||||||||
|
|
||||||||||
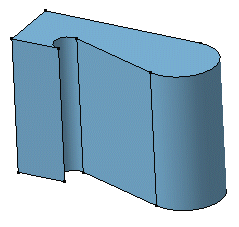
| 6. | Click OK. The pad is created. The specification tree indicates that it has been created. |
|||||||||
|
|
||||||||||
A Few Notes About Pads
|
|||
|
|
 |
||
|
Preview |
Result |
||

