Shaft
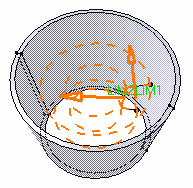
| This task illustrates how to create a shaft, that is a revolved feature, by using an open profile. | |||||
| You need an open or closed profile, and an axis about which the feature will revolve. | |||||
| Note that you can use wireframe geometry as your profile and axes created with the Local Axis capability. | |||||
| Open the Revolution.CATPart document. | |||||
| 1. | Select the open profile. For the purposes of our scenario, the profile and the axis belong to the same sketch. | ||||
| 2. |
The Shaft Definition dialog box is displayed. A message is issued warning you that the application cannot find any material to trim the shaft to be created. This means that you need to edit one or more default parameters. |
|
|||
| 3. | Click OK to close the warning message and display the Shaft Definition dialog box. | ||||
|
|
|||||
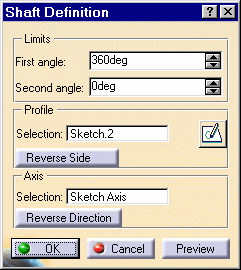
The application displays the name of the selected sketch in the Selection field from the Profile frame. In our scenario, the profile and the axis belong to the same sketch. Consequently, you do not have to select the axis. About Profiles |
|||||
|
|||||
|
|||||
|
|||||
|
The Selection field in the Axis frame is reserved for the axes you explicitly select. |
|||||
| There are three ways of reversing the revolution direction: clicking the Reverse Direction button, or using the Reverse direction contextual command available on the arrow or just by clicking the arrow. | |||||
| The application previews limits LIM1 that corresponds to the first angle value, and LIM2 that corresponds to the second angle value. The first angle value is by default 360 degrees. | |||||
| 4. |
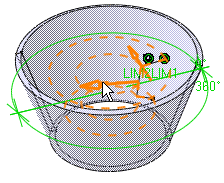
The option Reverse side lets you choose between creating material between the axis and the profile or between the profile and existing material. You can apply this new option to open or closed profiles. In our scenario, as our open profile cannot be trimmed if we use the default direction, that is in the direction of the axis, click the Reverse side button or alternatively click the arrow as shown: |
||||
 |
|||||
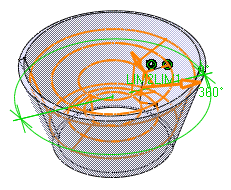
The application previews the new shaft: the extrusion will be done in the direction opposite to the the axis and it will be trimmed to existing material. |
|||||
 |
|||||
| 5. |
Enter the values of your choice in the fields First angle and Second angle. |
||||
| Alternatively, select LIM1 or LIM2 manipulator and drag them onto the value of your choice. | |||||
| 6. |
Click Preview to see the result. |
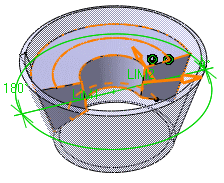 |
|||
| 7. | Click OK to confirm. The shaft is created. The specification tree mentions it has been created. |
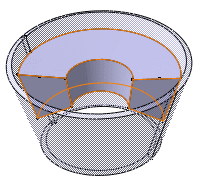 |
|||
|
|
|||||
