Setting Constraints Defined in Dialog Box
| This task shows you how to use this constraint command |
|||||||||||||||||||||||||||||||||||||||||||||||||||||||||
| Open the Hole1.CATPart document and create a hole anywhere on the pad top face. | |||||||||||||||||||||||||||||||||||||||||||||||||||||||||
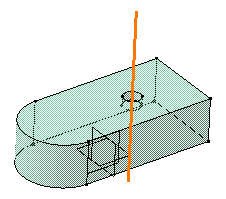
| 1. | Select the circular face and use the Other Selection contextual command to select the hole axis. | ||||||||||||||||||||||||||||||||||||||||||||||||||||||||
 |
|||||||||||||||||||||||||||||||||||||||||||||||||||||||||
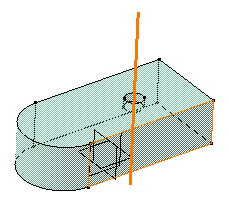
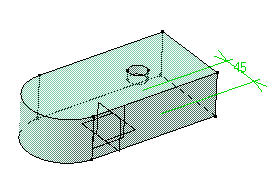
| 2. |
Use the Ctrl button to select the face as shown: |
||||||||||||||||||||||||||||||||||||||||||||||||||||||||
 |
|||||||||||||||||||||||||||||||||||||||||||||||||||||||||
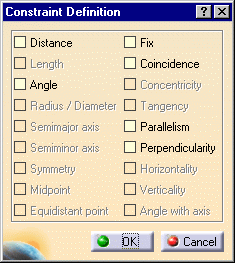
| 3. | Click the Constraint Defined in Dialog Box icon The Constraint Definition dialog box is displayed. |
||||||||||||||||||||||||||||||||||||||||||||||||||||||||
 |
|||||||||||||||||||||||||||||||||||||||||||||||||||||||||
|
The constraints you can set in Part Design workbench are:
CATIA detects six possible constraints between the axis and the face:
The other constraints are grayed out indicating that they cannot be set for the elements you have selected. |
|||||||||||||||||||||||||||||||||||||||||||||||||||||||||
| 3. | Check the Distance option. You can check only one constraint. | ||||||||||||||||||||||||||||||||||||||||||||||||||||||||
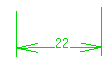
| 4. | Click OK to confirm. The distance constraint is created. | ||||||||||||||||||||||||||||||||||||||||||||||||||||||||
 |
|||||||||||||||||||||||||||||||||||||||||||||||||||||||||
|
|
|||||||||||||||||||||||||||||||||||||||||||||||||||||||||