Creating an Offset Section View / Cut
| This task will show you how to create an offset section view/cut using a cutting profile as cutting plane. In sectioning through irregular objects, it is often desirable to show several features that do not lie in a straight line by offsetting or bending the cutting plane. |
| Before You Begin, make sure you customized the following settings:
Grid: View names and scaling factors: 3D colors inheritance |
|
|
Open the GenDrafting_section_view02.CATDrawing and GenDrafting_section_view.CATDrawing documents. |
|
Before You Begin: Make sure the front view is active (use double-clicking). Delete the text assigned to the front view (right-click on the text and select Delete option from the contextual menu) |
| 1. | Click the Drawing window, and click the Offset
Section View icon
|
||
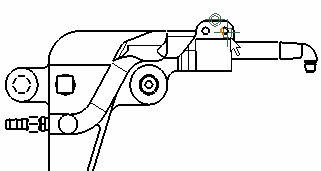
| 2. | Select the holes and points required for sketching the cutting profile. If you are not satisfied with the profile you create,
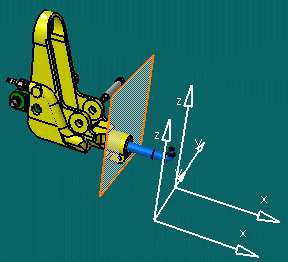
you can, at any time, use Undo The section plane appears on the 3D part and moves dynamically on the part. |
||
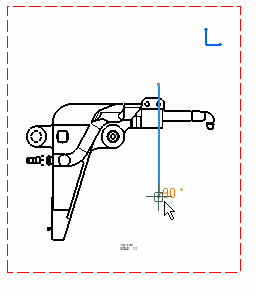
| 3. | Double-click to end the cutting profile creation.
Positioning the section view using the cursor amounts to defining the section view direction. The cutting profile is hole associative.
|
||
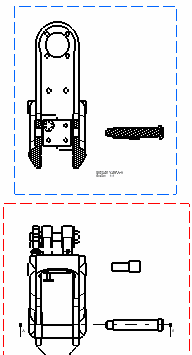
|
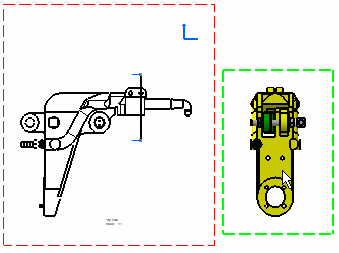
|
||
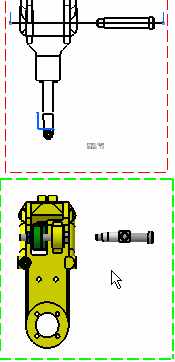
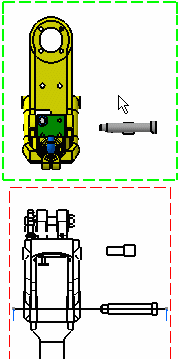
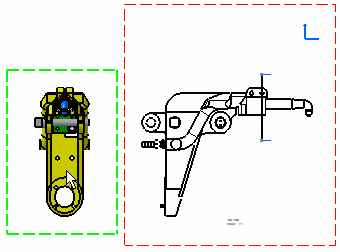
| 4. | Click to define the section view direction and to position the view on the sheet. The view name and scale appear on the generated view as you checked the View name and Scaling factor options in the Options dialog box. Even when the view is generated, you can edit and modify the section profile. For this double-click this profile and either invert or replace it.
|
||
|
|
|
||||
 |
 |
||||
| Positioning the section view using the cursor amounts to defining the section view direction. The cutting profile is hole associative. | |||||
|
|
||||
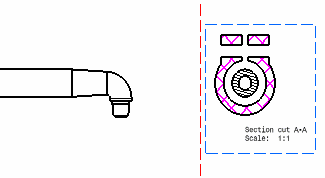
| 4. | Click to define the section cut direction and to position the view on the sheet.
|
|
|||
The view name and scale appear on the generated view as you checked the View name and Scaling factor options in the Options dialog box.
|
|||||
|
Frame The frame of the active view adapts to the length of the cutting profile. Hatching pattern
|
||||
| Apply uncut specification In an assembly, you can define that given parts will or will not be sectioned when generated into section views or breakout views. In the Assembly Design workbench, select one part, then the Edit -> Properties command from the menu bar from and either activate or de-activate the Not cut in section views options. In the Drafting workbench, modify the view properties (Edit-> Properties or Tools->Options) to define that the resulting views will or will not be sectioned. |
|||||
|
|
|
||||
|
|||||
|
|
|||||


