Creating a Section View
| This task will show you how to create a section view
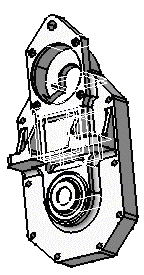
using the front view previously generated.
This section view will make drawings more readable by replacing the hidden elements of parts including holes with filled areas.
|
|||
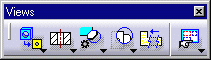
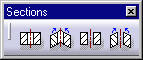
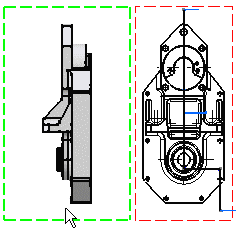
| 1. | Click the Drawing window, and click the Offset Section View icon |
 |
|
 |
|||
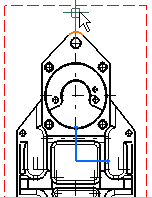
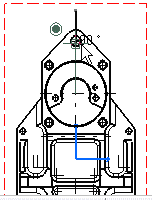
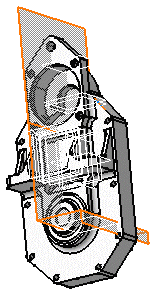
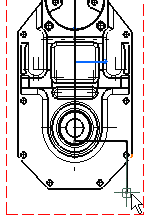
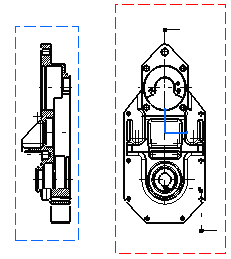
| 2. | Select the holes and points required for sketching the callout on the view. Selecting a circular, a linear edge or an axis line (for example, a hole) amounts to making the callout associative by default to the 3D feature. If you select a circle, the callout will go through the circle center. If you select an edge, the callout will be parallel to the selected edge.
|
||
|
|
||
| If you are not satisfied with the profile you create,
you can, at any time, use Undo Note that SmartPick assists you when creating the profile. The section plane appears at the second point you select and moves dynamically on the 3D part as you create the callout on the drawing. This section plane will automatically disappear as you will double-click to end the callout creation. |
|||
|
|
||
|

|
||
|
|
||
|
|
||
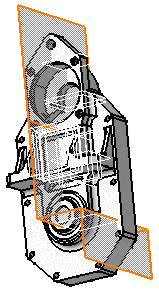
| 3. | Double-click to end the cutting profile creation. | ||
| Positioning the view amounts to defining the section view direction. The callout blue arrows direction is modified according to the cursor position. In other words, this preview behaves as if it were either a left or a right projection view you need to position. | |||
|
|
||
|
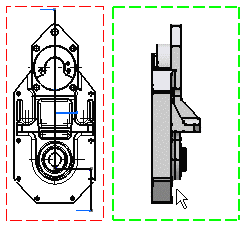
4.
|
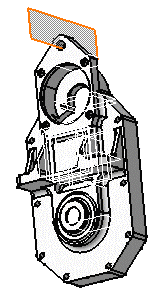
Click to generate the view. Using the cursor, you can then position the section view so that it is or not aligned to the front view. |
|
|
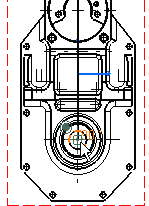
| You can modify the hatching pattern by pressing the right mouse button on the section view pattern and selecting the Properties option from the contextual menu. You will then display a Properties dialog box in which you will either select a new hatching pattern or modify the graphical attributes of the existing hatching pattern. | |||
|
|||