Creating a Quick Detail View / Quick Detail View Profile
| This task will show you how to quickly create a
detail view using either a circle as callout or a sketched profile. In this particular case, we create a quick detail
view using a sketched profile as we create this detail view from an oblong
part. Note that for creating a detail view using a circle, the dialog is
exactly the same.
A detail view is a partial generated view that shows only what is necessary in the clear description of the object. Note that, the Quick Detail view command computes the view directly from the 2D projection whereas the Detail view command uses a Boolean operator from the 3D. The representation is therefore different.
|
| Before You Begin, make sure you customized the following settings:
Grid: View names and scaling factors: 3D colors inheritance |
|
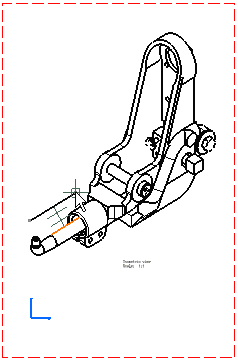
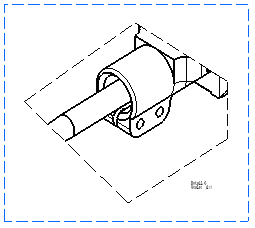
Open the GenDrafting_isometric_view.CATDrawing
document.
|
|||||
| 1. Click the Drawing
window and click
the Quick Detail View Profile icon If you create a detail view using a sketched profile, you will click the
Quick Detail View icon |
 |
|||||
|
||||||
| 2. Select the points
required for sketching a polygon.
3. Double click to end the cutting profile creation. Note that you do not necessarily need to close the profile. If so, the profile will automatically be closed.
|
||||||
|
|
|
|||||
|
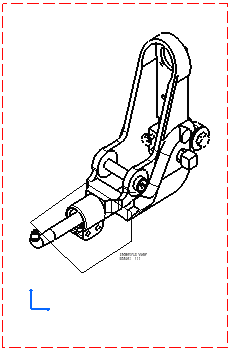
4. Click to generate the quick detail view. Unlike in the case of a detail view ( |
|
|||||
|
||||||
|
||||||
|
||||||