Creating Views via the Wizard
| This task will show you how to create views using a wizard. These views are views that are generated automatically once the CATDrawing document is opened. These views can then be modified as if they had been manually created one after the other. |
| Before You Begin, make sure you customized the following settings:
Grid: View names and scaling factors: 3D colors inheritance |
| Open the GenDrafting_part.CATPart
document.
Start creating a new drawing (and this case, create an empty sheet). |
| Before You Begin
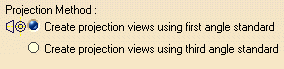
Make sure you select the projection mode you need. If you want to change the method you use as you pre-define your configurations, what you need to do is: 1. Right-click the sheet.
|
|||||
|
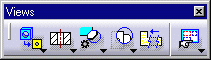
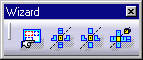
| 1. Click the Drawing window, and click
the Wizard icon |
 |
|||||||||||||||||
|
||||||||||||||||||
2. Select the desired view configuration from the View Wizard (1/2) : Predefined Configurations dialog box.
In this case, ISO standard / First angle projection method is used and the following configurations are available:
|
||||||||||||||||||
|
If you use the ANSI standard (Third angle projection method), in
the dialog box the configuration symbol displayed You can can define the Minimum distance between each view. For this, enter the desired value in the modifiable field available in the View Wizard dialog box. |
|||||||||||||||||
|
A preview is available:
|
||||||||||||||||||
|
3. Click the NEXT> button from the View Wizard (1/2) : Predefined Configurations dialog box.
|
||||||||||||||||||
| The View Wizard (2/2) : Arranging the Configuration dialog box is now displayed with a new
set of view buttons:
|
||||||||||||||||||
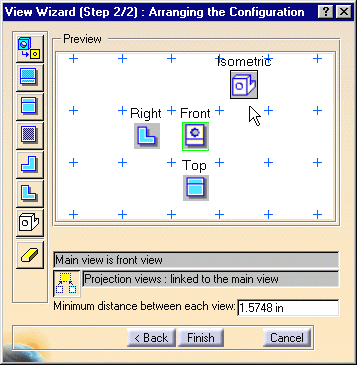
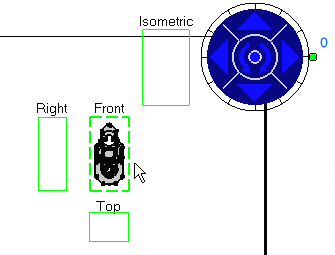
| 4. Click the Isometric View
button
5. Position the isometric view onto the Preview window by dragging and clicking it as desired. 6. Click the FINISH button from the View Wizard (2/2) : Arranging the Configuration dialog box.
|
||||||||||||||||||
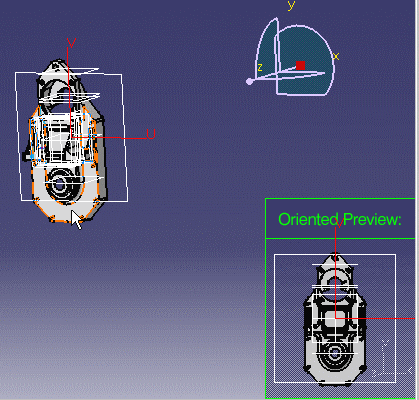
7. Select the CATPart document.
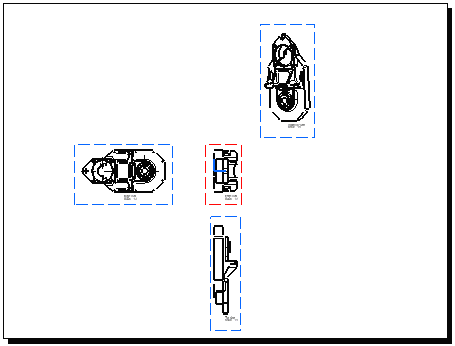
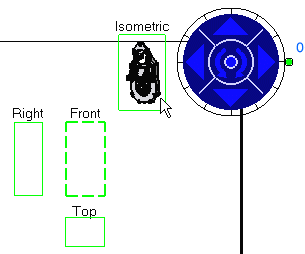
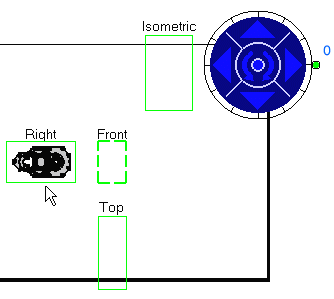
8. Click on the desired 3D part plane to be used as reference plane. If the plane can be computed, the Oriented Preview of the 3D part appears as you move the cursor over the 3D part (planes). The views now appear on the CATDrawing document: they are previewed in green frames and can be re-oriented thanks to the blue arrows that appear. 9. Go over the view frames with your cursor to have these views visualized.
|
||||||||||||||||||
|
||||||||||||||||||
|
||||||||||||||||||
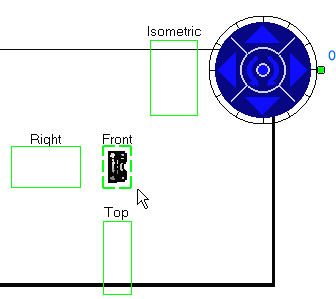
| 10. Use the blue arrows
to have the views re-oriented as desired and then go over the views with
the cursor, if you need to check the preview of the other views.
For more details, see chapter called Before You Begin.
|
||||||||||||||||||
|
||||||||||||||||||
|
||||||||||||||||||
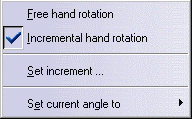
| You can also modify the increment value using the green knob
contextual menu. For this, right-click
on the knob and select the desired option from the contextual
menu. For more details, see chapter called Before You Begin.
|
||||||||||||||||||
|
11. Once you are satisfied, click on the sheet to make the views be actually created. The front view is actually the main view and the isometric view is added to the predefined configuration.
|
||||||||||||||||||
|
The ISO and ANSI standards are independent from the angle projection method. | |||||||||||||||||
|
||||||||||||||||||