Getting Started

Before getting into the detailed instructions for using Generative Drafting, the following tutorial aims at giving you a feel of what you can do with the product. It provides a step-by-step scenario showing you how to use key functionalities. The main tasks covered in this section are the following:

Defining the Drawing Sheet
Opening a Part
Creating a Front View
Creating Projection Views
Creating a Section View
Creating a Detail View
Creating a Section Cut


Before You Begin, make sure you customized the following settings:

Grid:
De-activate the Grid icon from the Tools toolbar (bottom right).

View names and scaling factors:
Go to Tools->Options (Mechanical Design -> Drafting option at the left of the dialog box, Layout tab) and un-check the View name and Scaling factor options.
 

This step-by-step scenario introduces the basic capabilities of Generative Drafting. You just need to follow the instructions as you progress along.

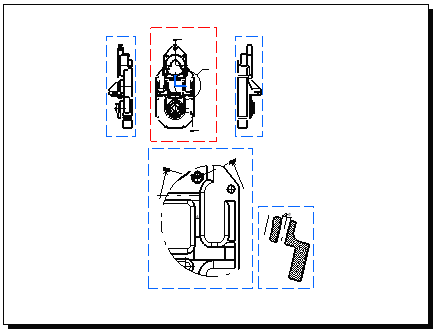
At the end of this getting started, you will be able to print the following sheet:


Before discovering this scenario, you should be familiar with the basic commands common to all workbenches. These are described in the  Infrastructure User's Guide.